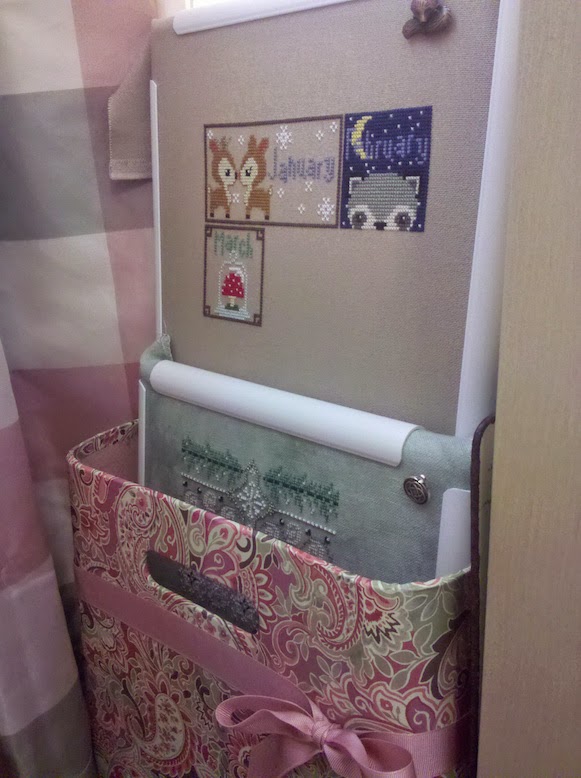
Well, here I am, sneaking in under the wire with a sad little sampler update. I managed to get one whole band stitched this month. I guess that's better than no whole bands, but really. I'm now a couple of bands behind my schedule, as I want to have this finished in June. I still need to find an alphabet I really like and chart our names and wedding date, which I'll be using to replace a couple of bands. Here we are...
Quick Reference
- Christmas Open House 2014
- Christmas Open House 2015
- Christmas Open House 2016
- Christmas Open House 2017
- Christmas Open House 2018
- Christmas Open House 2019
- Christmas Open House 2020
- Christmas Open House 2021
- Christmas Open House 2022
- Christmas Open House 2023
- Christmas Open House 2024
- How To...
- color conversions
- finishing
30 April 2015
27 April 2015
The madness continues...
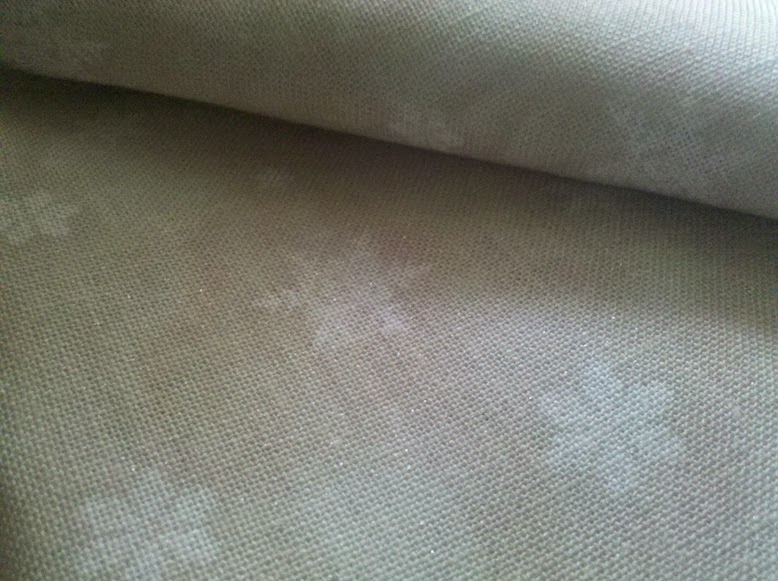
If you're a regular visitor, you know I have a thing for Fabric Flair fabrics. Some of y'all have even commented on my--ahem--interest (I'm looking at you, Vickie!). Can't help myself. Their fabrics are just too yummy to resist. I didn't even try to resist the latest addition to my fabric stash... this gorgeous snowflake fabric.
I am having a fit to start something on this, but I've got some things that I need to finish first. My pictures don't do it justice, but hopefully you can see that it has a very subtle silver thread in it that just gives it a soft sheen. It's not as sparkly as opalescent fabrics. Love.
I am having a fit to start something on this, but I've got some things that I need to finish first. My pictures don't do it justice, but hopefully you can see that it has a very subtle silver thread in it that just gives it a soft sheen. It's not as sparkly as opalescent fabrics. Love.
25 April 2015
Fox Finds
Found these goodies at Jo-Ann Fabrics!
This is a Riolis kit. When I saw it last month, I gasped. Out loud. "GASP!" Like that. I ordered it faster than immediately. It arrived a few days ago. Gorgeous, huh?
I must, must make time to stitch this. It's too beautiful to linger in the to-do pile and I want to enjoy it.
This is a Riolis kit. When I saw it last month, I gasped. Out loud. "GASP!" Like that. I ordered it faster than immediately. It arrived a few days ago. Gorgeous, huh?
I must, must make time to stitch this. It's too beautiful to linger in the to-do pile and I want to enjoy it.
24 April 2015
Woodland Sampler: April Block
Catching up on the stitching I've neglected. Here's a wee bunny enjoying an April shower. He's supposed to be a jack-a-lope (with antlers), but I left off the antlers. I also changed his colors to DMC 840 and 842 to lighten him up a bit and make his eyes more visible.
I've got to pack a lot of stitching into the next 6 days if I'm to stay on schedule with some of my on-going projects. So far, so good on this one. But it's only April...
I've got to pack a lot of stitching into the next 6 days if I'm to stay on schedule with some of my on-going projects. So far, so good on this one. But it's only April...
21 April 2015
Where have I been?
I sort of lost my mind last week and decided to completely re-arrange my sewing room. Never mind the fact that it was already a disaster, with three organizing projects already on-going and strewn all over the floor. Nope. Nothing would do but for me to move all the furniture. Because it's always so much easier to move furniture when the floor is covered with stuff. I plunged in. I didn't have to redecorate, as I was satisfied with that; I just didn't like the arrangement anymore. I'm proud to say I'm still alive, and I can see light at the end of the tunnel. Hopefully, it's not a train.
It's not finished yet, but it's back to being a usable space. I thought I would share a little peek at part of the new arrangement and at a few of my little treasures.
I'm way behind on my stitching for this month, but hopefully now that I've got this project under control I'll be able to settle down and catch up. I've got 4 stitchy projects that desperately need my attention.
Thanks for visiting! Hope you enjoyed this little glimpse of where Tiger Lily and I work our stitching magic!
10 April 2015
Soda Bottle Bud Vases
Soda tastes better out of an ice-cold glass bottle than out of a can or poured into a glass. Who's with me?
We drink very little soda, so I rarely buy glass bottles, but I gave Mr. Wonderful an Opening Day party (baseball season) on Monday and I bought some soda in glass bottles to go with the Cracker Jacks and the peanuts in the shell. The bottles were too nifty to throw away, so I had to think of a use for them. Bud vases, of course! They just needed a little fancy-ing up.
If you click on the "crafts" label here, you'll see that the only crafts I do are easy ones. And this one is no exception. All you need: bottles, ribbon, embellishments, your trusty hot glue gun, and a kitty.
To be fair, I was making these last night and she was at the end of a long, hard day of napping and eating. It wears her out, you know. These are 8 oz. bottles and a length of ribbon about 8" long will go around the bottle with a little overlap. Hot glue it, hot glue your embellishment to the front and BOOM! Cute bud vase!
TIP: See the "sell by" date printed on the bottle on the right? That wipes off easily with a little nail polish remover on a cotton ball.
You can use any type of ribbon and any type of embellishment you can think of to make these suit any season or holiday or occasion. I chose a linen-like 1 1/2" wide ribbon, which I think works really well. I'm not into the burlap craze (???) but it would work well, too, and would give you a very rustic, country look. These paper and fabric flowers are from the scrapbooking section of Hobby Lobby. I got the ribbon there, as well.
Now here's an important TIP: When you glue the ribbon around the bottle and when you glue the embellishment onto the front of the ribbon, move the ribbon slightly on the bottle so the glue doesn't bond to the bottle. This serves two purposes:
1) the ribbon can be removed and the bottle can be popped into the dishwasher
2) if you want to change these for seasons or holidays, you just remove the ribbon and make a new one... you don't have to have a vast collection of bottles!
I made a less girly one for Mr. Wonderful's desk, because who doesn't like a fresh flower? This is just a chipboard letter glued to the ribbon.
I'm pretty happy with how these turned out. Tiger Lily is not quite as impressed.
01 April 2015
Subscribe to:
Posts (Atom)


