My most useful tool is my DMC Color Card. They're not cheap, but they're worth every penny if you stitch a lot and like to swap colors. I couldn't manage without mine. If you get one, make sure it's one with the actual thread samples. Here's what they look like unfolded... wonderful, huh?

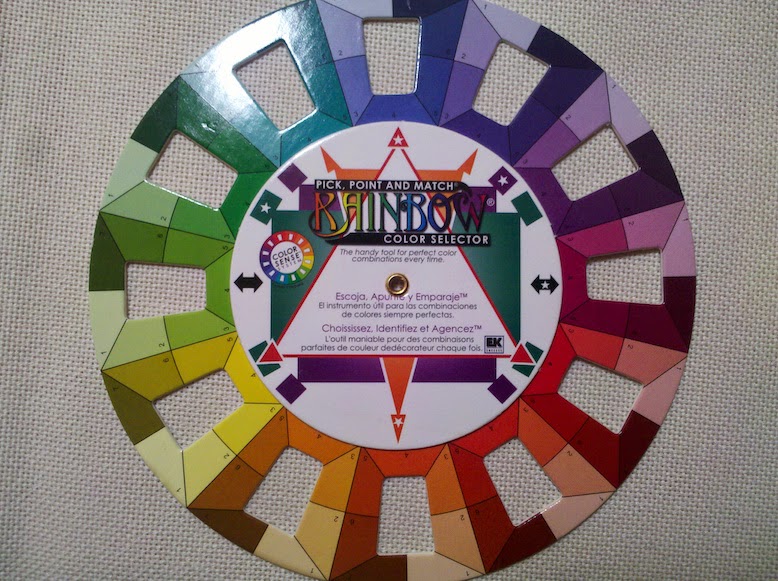
These little color wheels are also pretty useful for creating harmonious color combinations. They're keyed with shapes and symbols to make it easy to choose complimentary colors of the same value. They're available in the art supply department of any craft store.
The first thing I do when I'm setting about to do a color conversion is pull out all my floss. This is easy for me because it's stored on bobbins--in numerical order--in only 4 floss boxes (the variegated colors live in their own box). If you store your floss in baggies or use some other system, this might be a little more difficult for you. I like to be able to quickly pull colors and put them back, which is why I like to have all the colors in front of me. This makes me drool (it also makes my eyes hurt):

The next thing I do is pull the colors called for by the designer and group them as they're used in the design. This is like making a map of how color is used in the design, and I follow the map when I change the colors. The photograph below is of the original colors. As an example of how my map works, you can see that there are 4 shades of purple, used from darkest to lightest. When I swap colors, I know I need 4 shades, from dark to light, of either a different purple or of a completely different color. This is where the color card is invaluable. I can quickly look at the color card and find the shades I want to use, already organized from dark to light. Trying to do this while just looking at a color key on a chart will drive you nuts. You need to see the colors and how they work together.
Original colors:


When I have pulled the designer's colors, I then begin selecting my own and I lay them down, color for color, next to the originals. I had a photograph of this, but my camera ate it and I didn't realize it until I had put everything away. So we're missing the "in progress" shot, but you can see clearly what I did in the "original" and "new" shots. I'm not a huge fan of super bright "jewel tones" and so I simply softened the colors. Here's the new color palette:

The colors are still rich and vibrant, but they're considerably softer than the originals and will give a totally different look to the finished design.
Good luck with your color conversions and happy stitching!
Very helpful info:)
ReplyDeleteI enjoy reading your 'how to' posts, Honeybee! Where did you get your DMC color card? Is it the latest version?
ReplyDeleteRobin in Virginia
Robin, if you click on the link in the post it will take you to the DMC web page where they sell the color card. I've had mine for years, but it is current. Can't remember where I got it. :O)
DeleteGreat post! I printed it to pdf and saved. My brain tries to make everything so complicated. Your way is so logical.
ReplyDelete